
Build Your Dream Overland Adventure Truck : New Overlanding Series!
Do you have to build up your vehicle to Overland? Not Necessarily, it depends on the goals you have in mind! Most common 4×4 vehicles are capable of basic dirt roads and easy trails. I’ve seen some stock 4×4 vehicles make it through even moderate trails, but they weren’t looking too hot by the time they came through to the other side! If you want to get the family out to some far off destinations, you may need to get through some moderate to hard trails and our Lifestyle Camper Trailers are already well equipped for you to handle the trails! If you want to build out your rig to handle some rugged terrain read on!
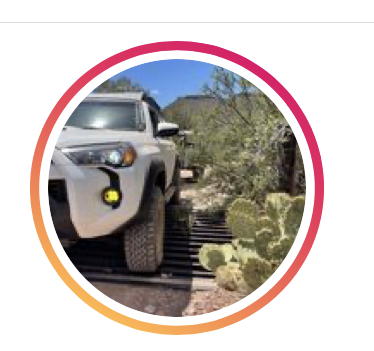
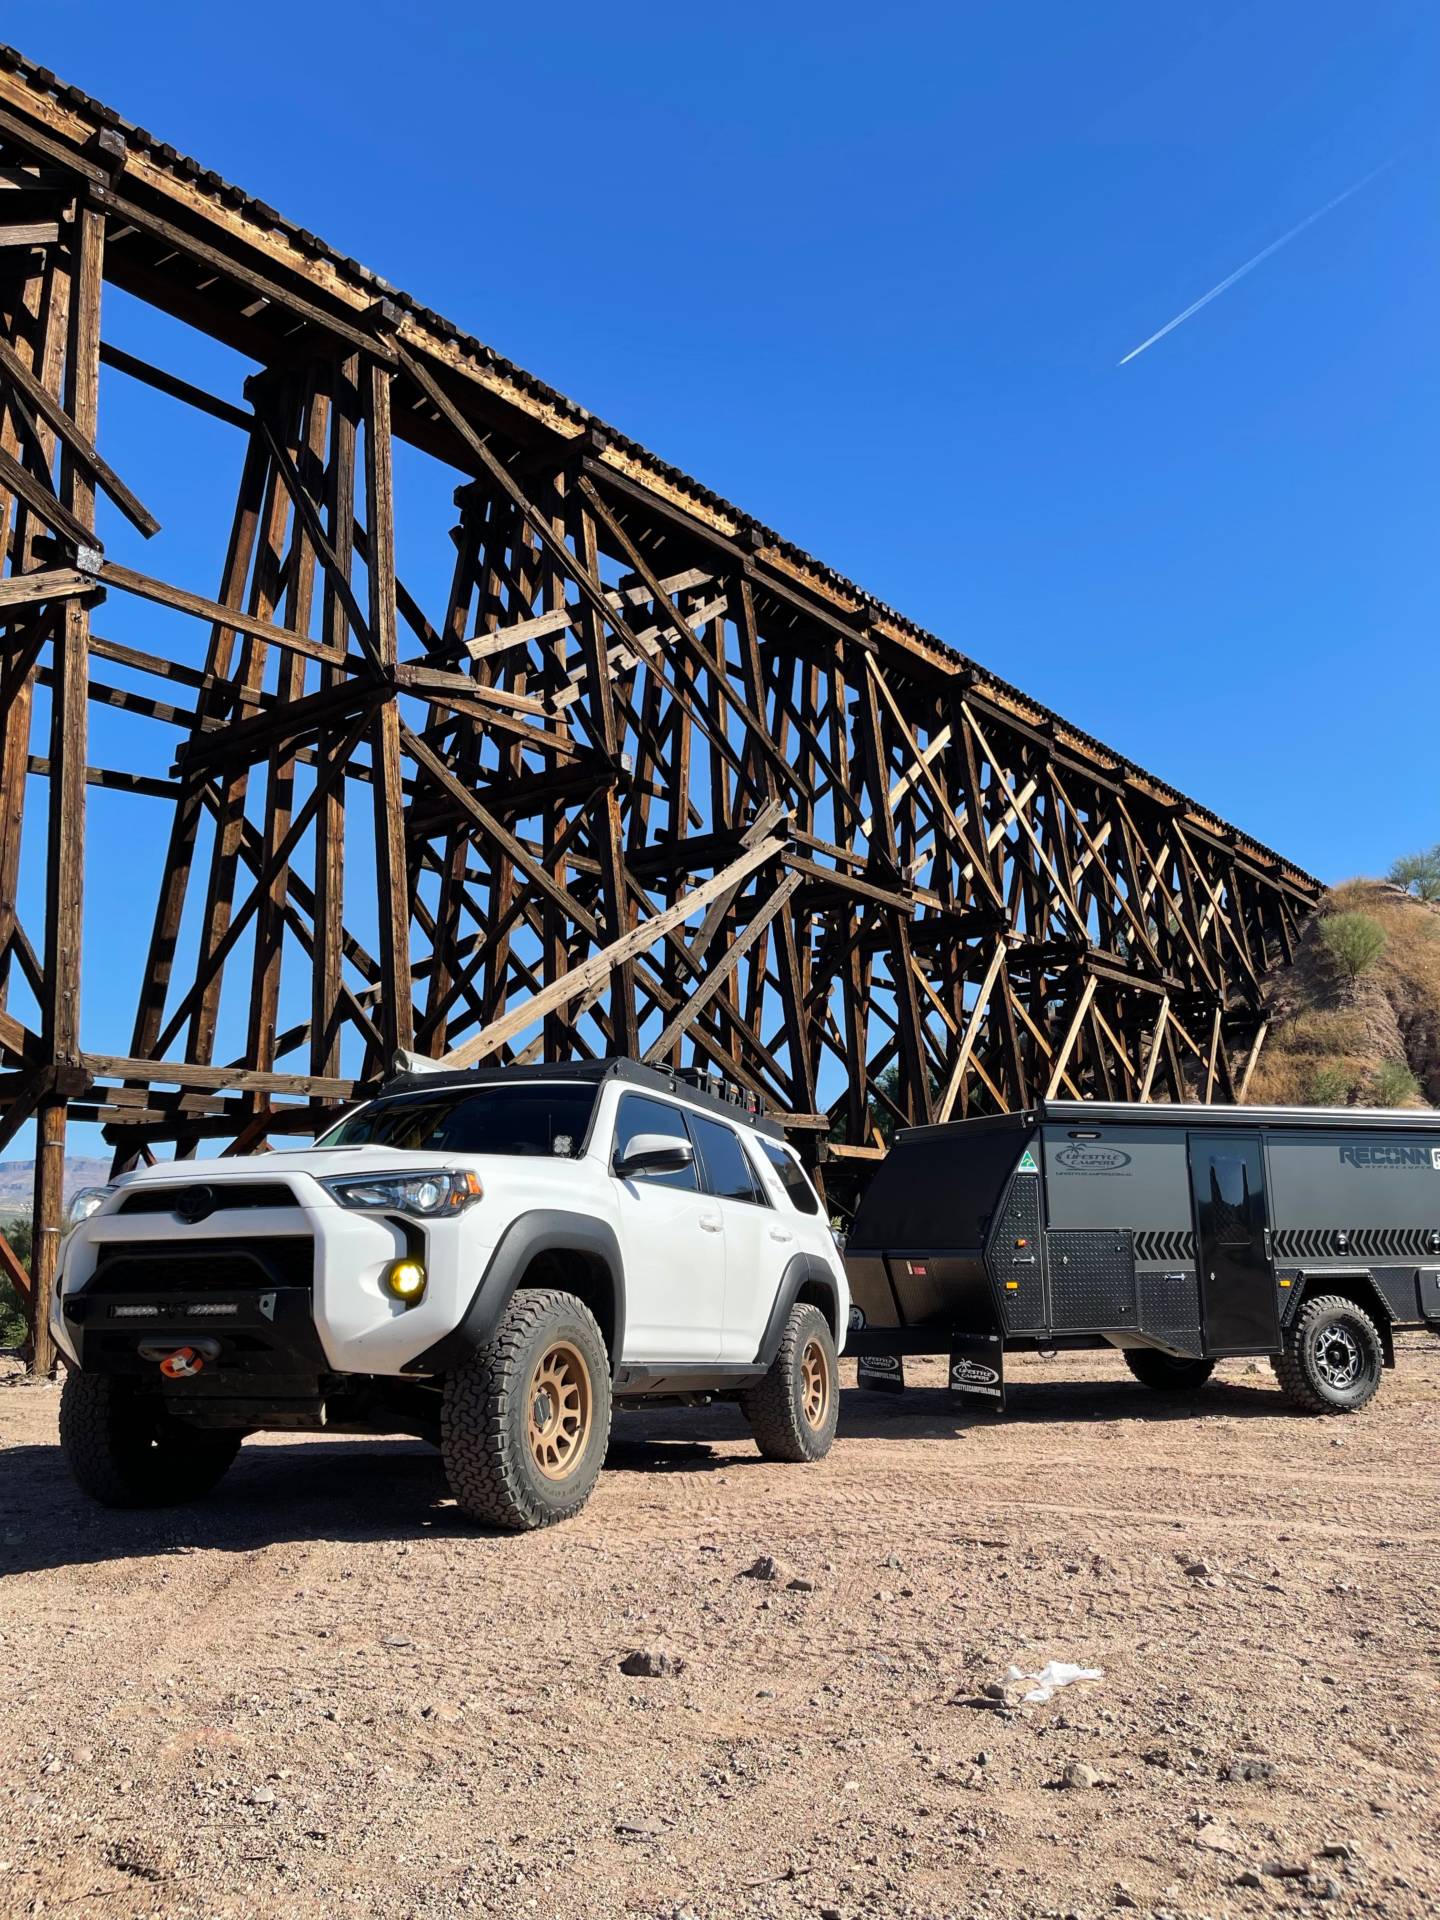 Example of a Overland Vehicle Build Out
Phase 1:
- Trailer Prep : See our Article on Going Overlanding with a Trailer? Make sure your Vehicle is Prepped for Success!
- Lift – Ironman 4×4 Foam Cell Pro Really the best all around bang for the buck!
https://ironman4x4america.com/
- Wheels – I am a huge fan of Method Wheels and their Trail Series with Bead Grip allow for lower air pressures without popping off (Tested and Approved)
https://www.methodracewheels.com/
- Tires – We run BFG as they are the benchmark for all offroad tires. I have also used and like Falken Wildpeaks: https://www.bfgoodrichtires.com/
Phase 2: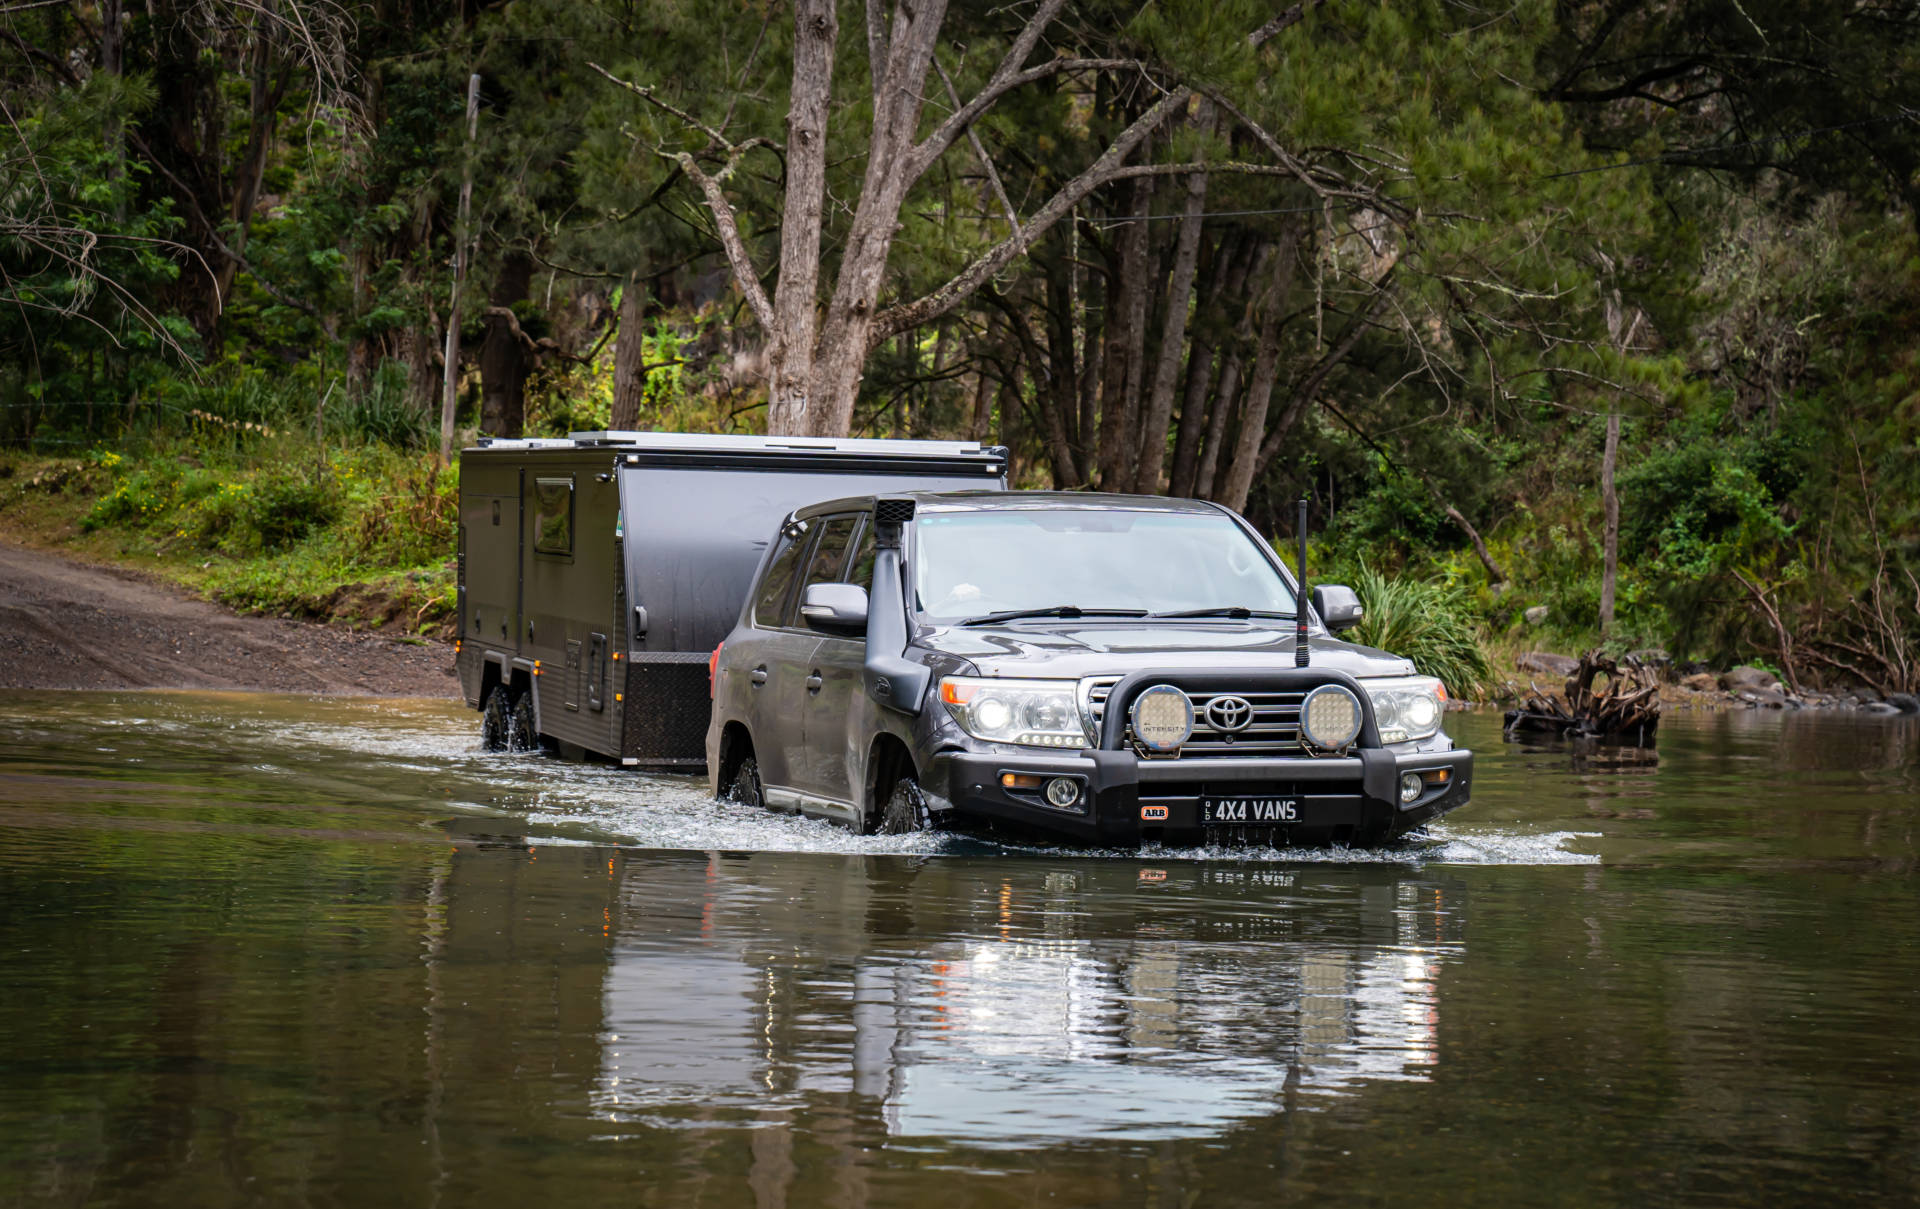
- Rock Sliders – When it comes to armor these are #1, most vehicles have some kind of factory skid plate. However, the rockers are more likely to come down on something.
- Skid Plates – Factory skids are good for rocks kicking up or small impacts. But they will not handle hard drops on rocks and should be upgraded if doing harder trails or have smaller (>35″) tires. However, if you’re not rock crawling you can save weight with thinner steel or even aluminum.
- Front Bumper – The main purpose of the front bumper is to house the winch, but should also give better approach angles and durability to obstacles.
- Winch – To me Overlanding is about self reliance and being able to get yourself out of a problem is what a winch is all about. We will go over recovery gear more in depth later, but a quick rule of thumb for winch size is to add at least 30 percent to the working GVW or Gross Vehicle Weight.
 Phase 3:
- Rear Bumper – Not necessary, but allows for relocation of spare, looks really nice and also provides additional clearance in the rear and extra lights.
- Lights – Lights are dependent on your needs. Sometimes these are integrated into the earlier phases. Most aftermarket front bumpers will have a spot for a lightbar and fog lights. Ditch Lights are great for increasing your visual range. A Roof Light bar will throw light further down the trail, which helps at faster speeds or trying to navigate. A brand I would recommend to check out is Diode Dynamics https://www.diodedynamics.com/ Rock Lights are good to help identify obstacles under the vehicle in the dark so you or your spotter can keep the tires on the line. One of my favorite designs for Rock Lights are from Lux light systems https://luxlightingsystems.com/
- With all these extra lights you need a means to control them. The old school way of running each light into the cab and figuring a switch location is still doable but adds a lot of work and makes a mess of wires. 12V Power controllers and switches allow for a single wire or even wireless to control all of your lights.
Phase 4 : Additional helpful gear: 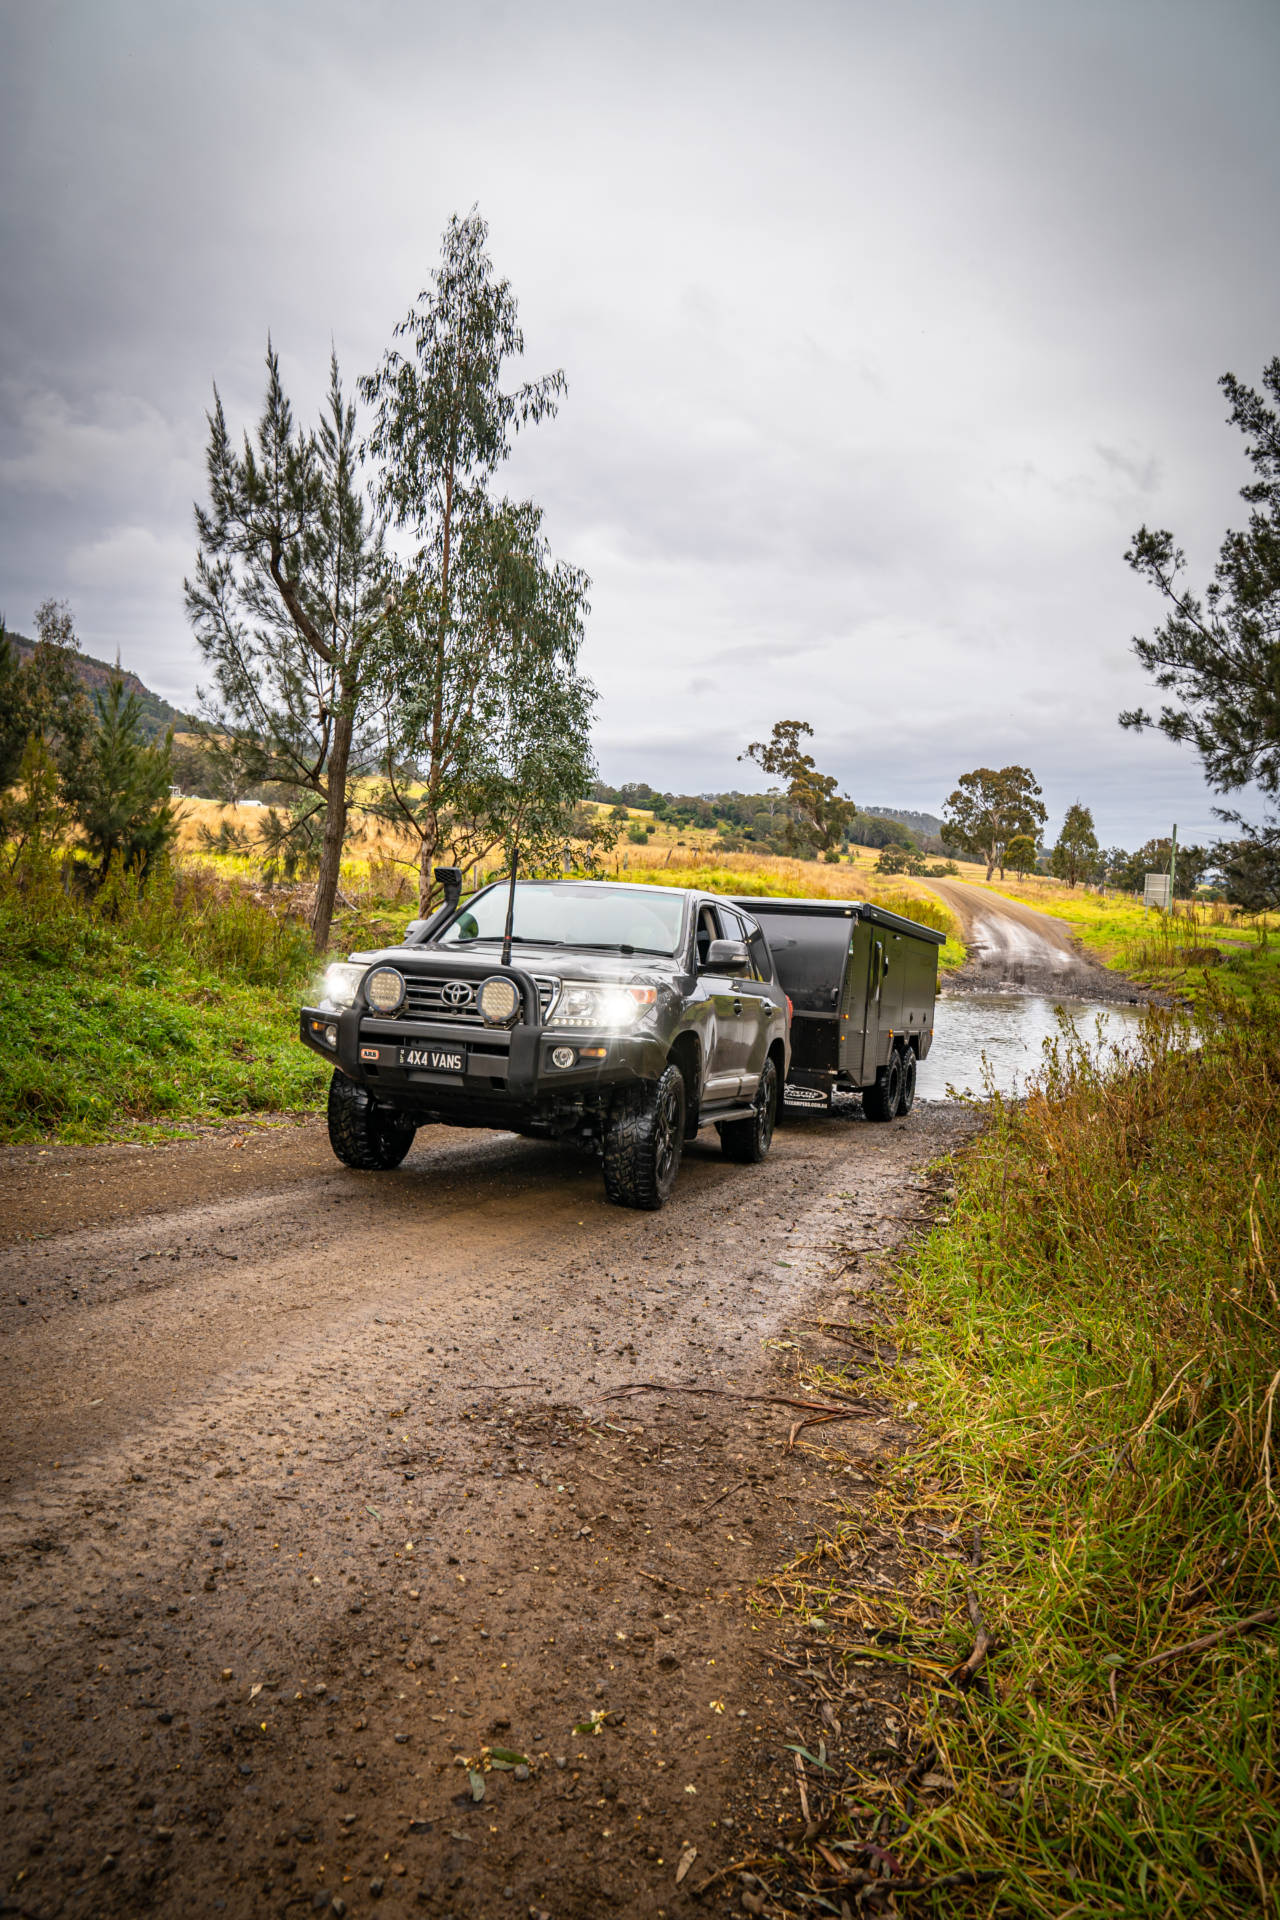
- Air Compressors are an absolute must but can be portable units or hardlined into the vehicle.
- Dash Mounts like the ones from Expedition Essentials provide solid mounting points for Phones and Tablets and can even add charging ports.
(Trevor and AJ are overland enthusiasts, They Import Lifestyle Camper Trailers from Australia to the west coast and distribute them all over North America. Trevor is currently serving in the U.S. Military and AJ is a Realtor in AZ, they travel with two adventurous boys and an adventure dog. They Drive a Toyota 4runner and Lexus GX, their personal camper used for adventures and Demos is a Lifestyle R2)
 Follow us at Our IG account @overlandingnorthamerica
https://www.instagram.com/overlandingnorthamerica